📘 Configure OpenSearch Dashboards to use OTDS OAuth
- Edit the file opensearch_dashboards located at <OpenSearch Dashboards Home>\config\opensearch_dashboards.yml and add the following to the bottom of the file and fill in the following details.
- client_id: the name of the OAuth client from OTDS
- client_secret: the secret generated by OTDS when the OAuth client was saved.
- base_redirect_url: the url to the opensearch dashboards instance (e.g: https://lab-opensearch-01.lab.shinydocs.local:5601)
- openid_connect_url: the url to the OTDS server with /otdsws/.well-known/openid-configuration on the end. (e.g: https://lab-opensearch-01.lab.shinydocs.local:8443/otdsws/.well-known/openid-configuration)
# uncomment to enable multi auth support of openid and basic auth (internal database) #opensearch_security.auth.type: ["basicauth","openid"] #opensearch_security.auth.multiple_auth_enabled: true opensearch_security.auth.type: ["openid"] opensearch_security.auth.multiple_auth_enabled: false opensearch_security.openid.client_id: <clientname from OTDS> opensearch_security.openid.scope: openid opensearch_security.openid.client_secret: <client secret from OTDS> opensearch_security.openid.base_redirect_url: <fqdn to open search> opensearch_security.openid.connect_url: <fqdn to otds>/otdsws/.well-known/openid-configuration
- Restart OpenSearch Dashboards for the settings to take effect.
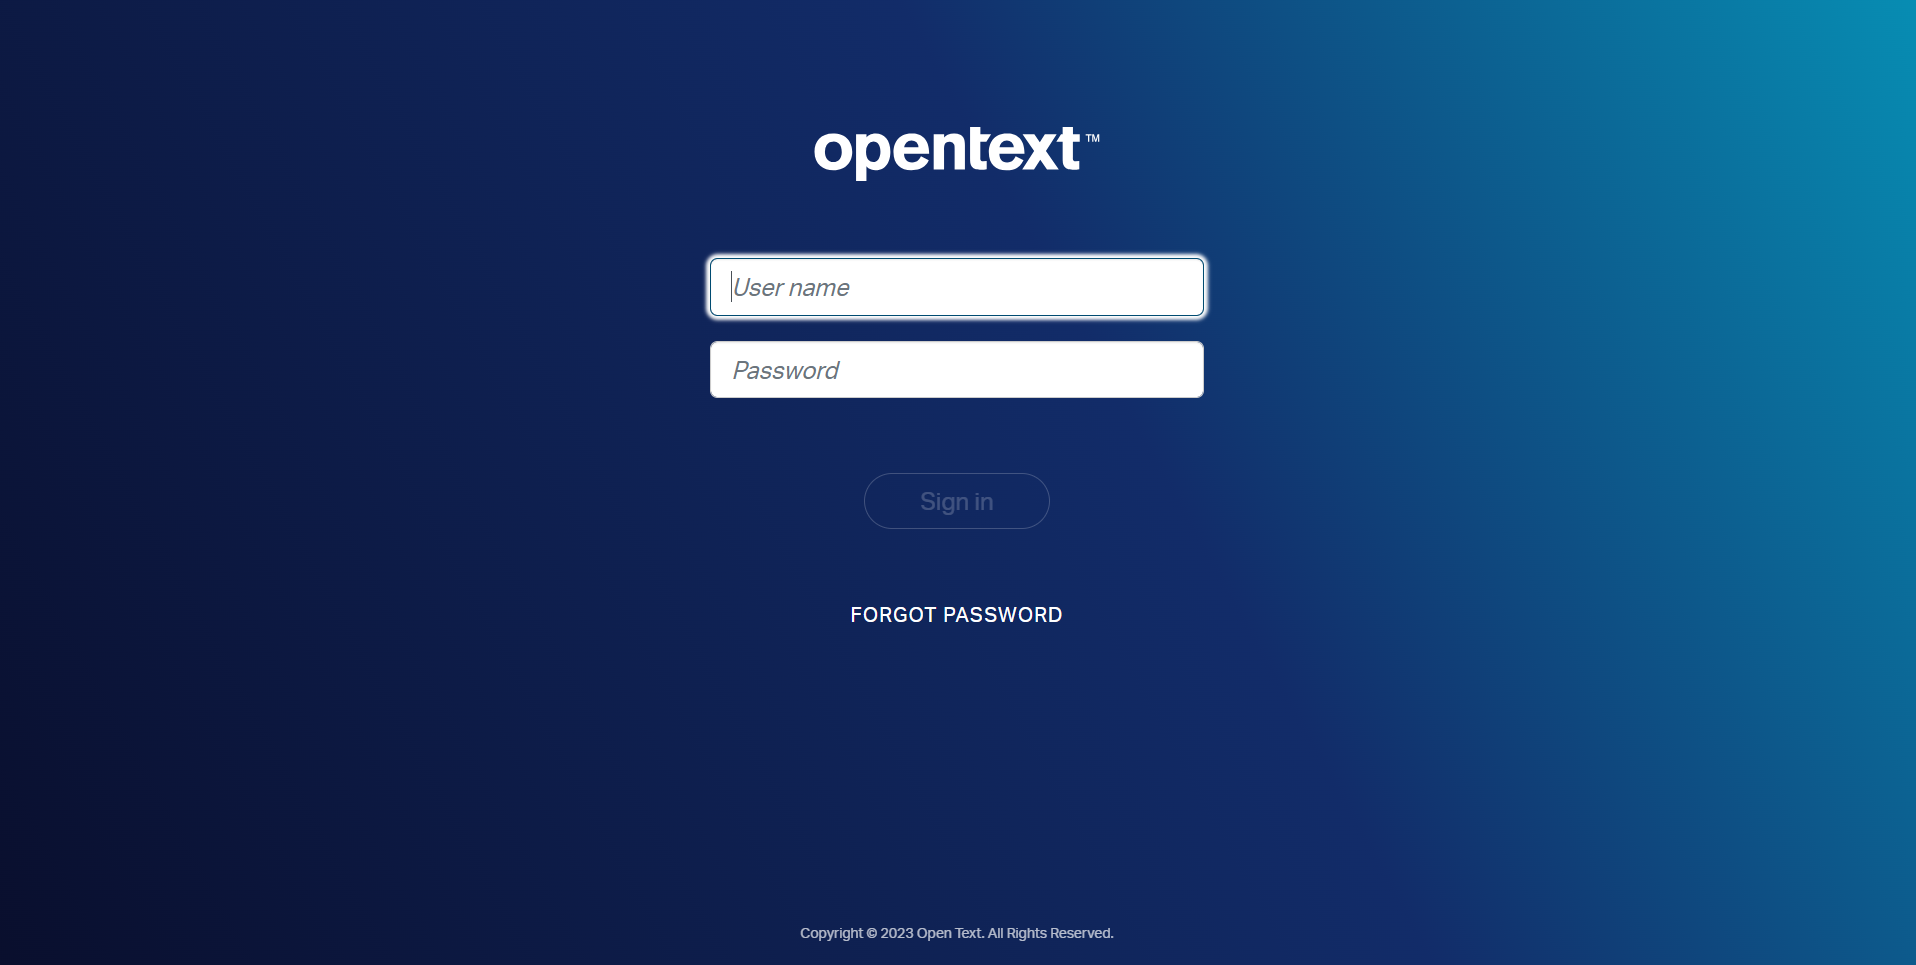
- Try to login to opensearch by navigating to the url of open search. You should be shown an OTDS login screen.
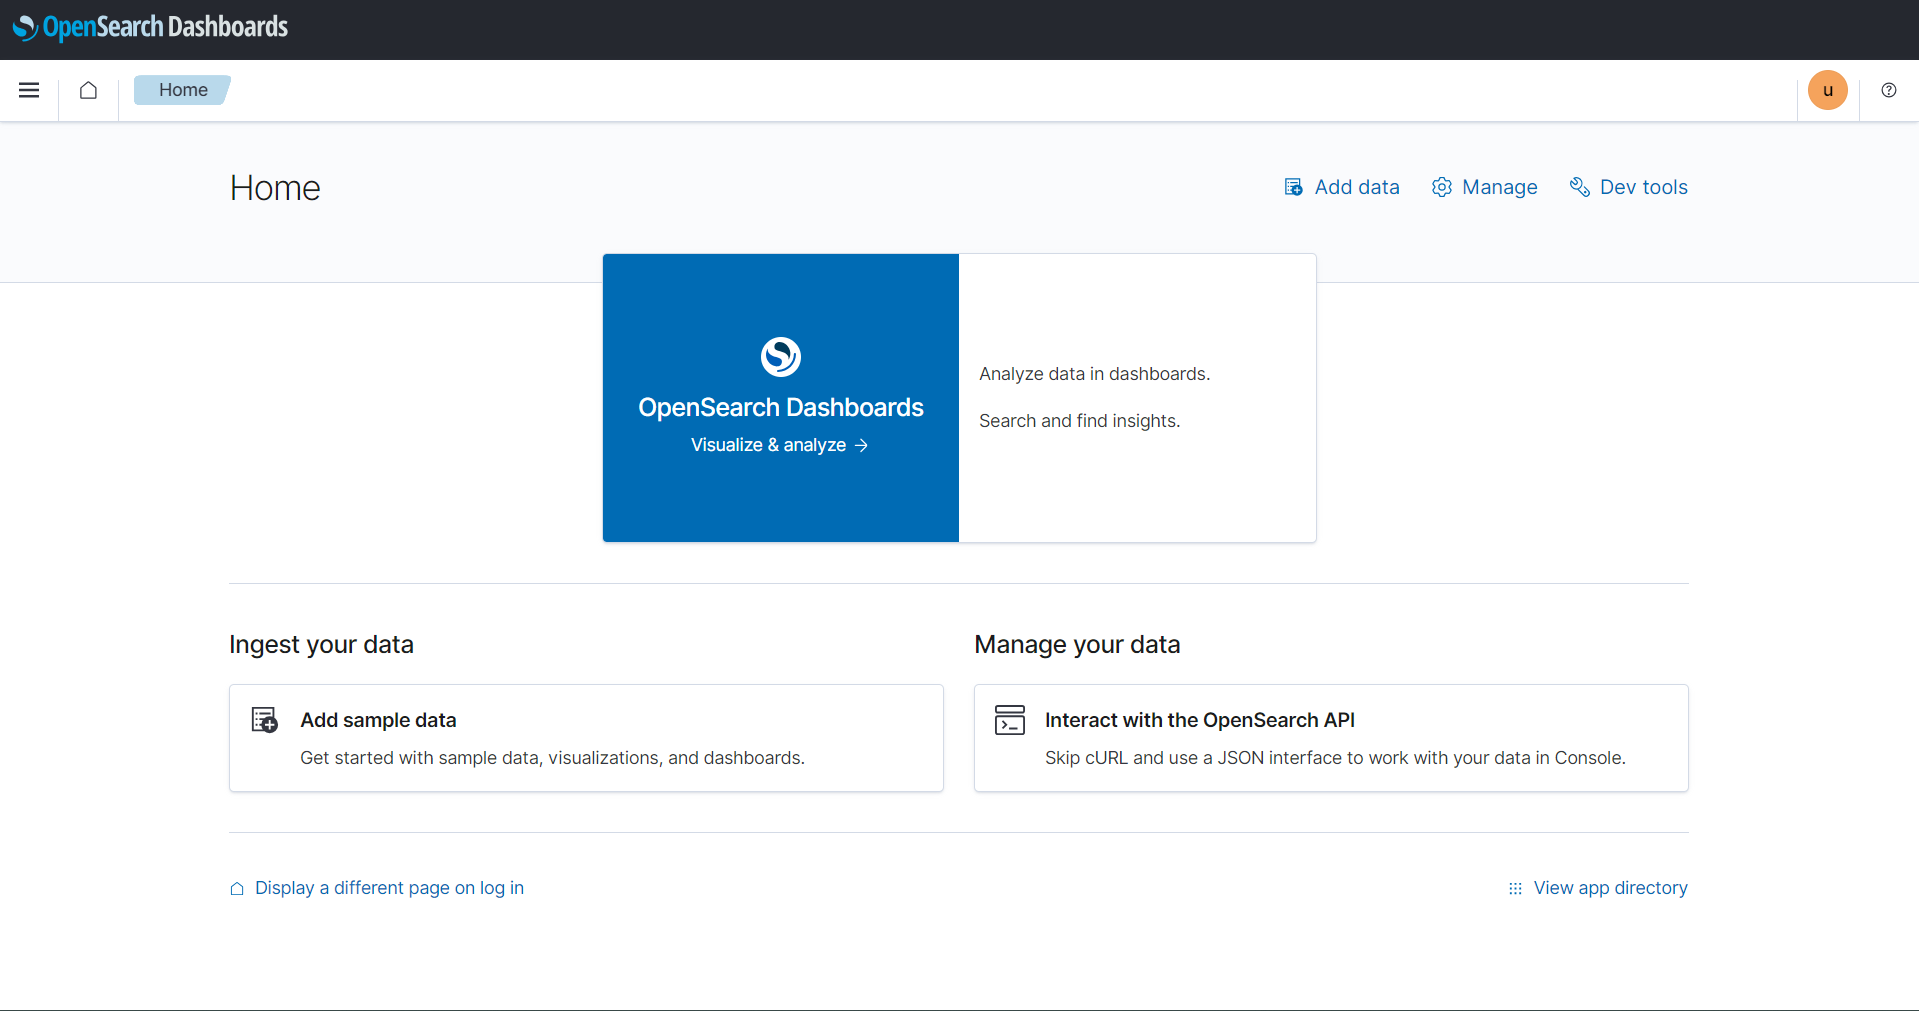
- provide OTDS login credentials and you should be logged in:
If you need to manage user roles, you will need to be able to login as a user with admin rights in OpenSearch Dashboards. This can be accomplished a couple of ways, but the easiest is to enable mutli-auth within opensearch dashboards. The code snippet above has commented out lines that allow multi-auth to be enabled and to login as the opensearch admin user.
- Once logged in, you can navigate Security → Roles section.
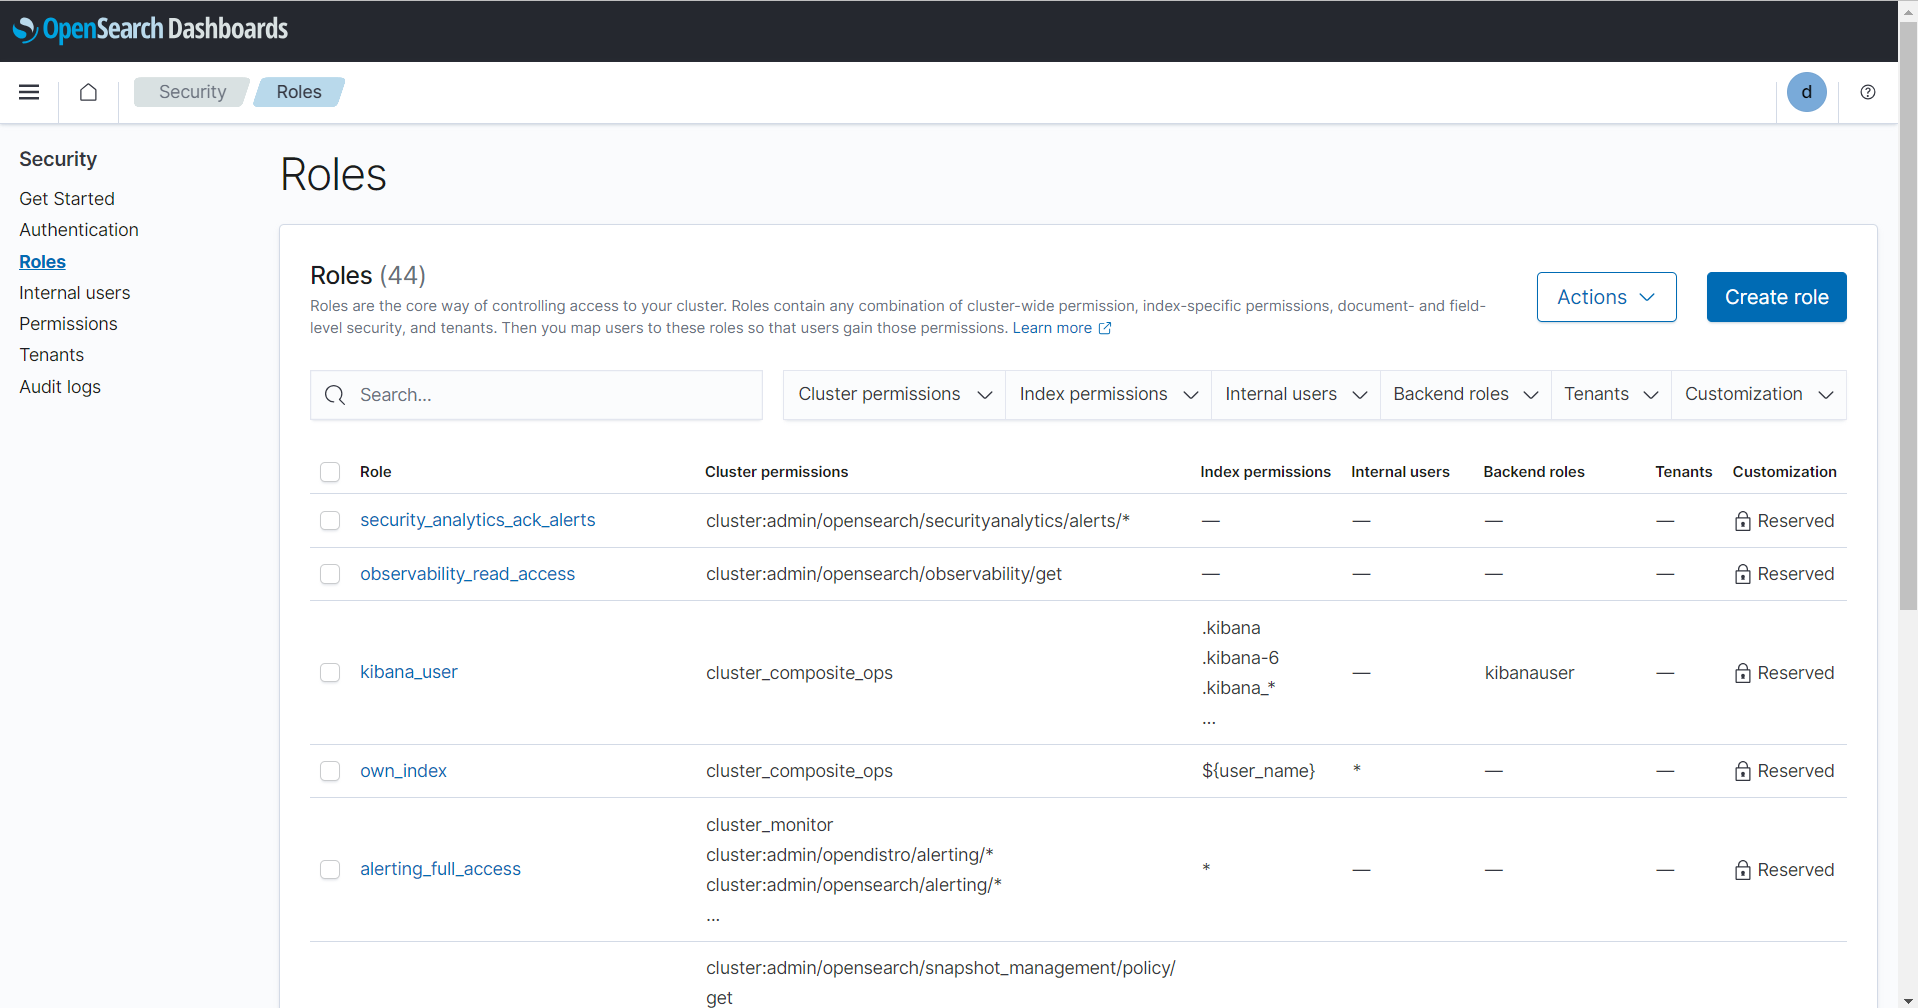
- Click on a Role you want to grant access.
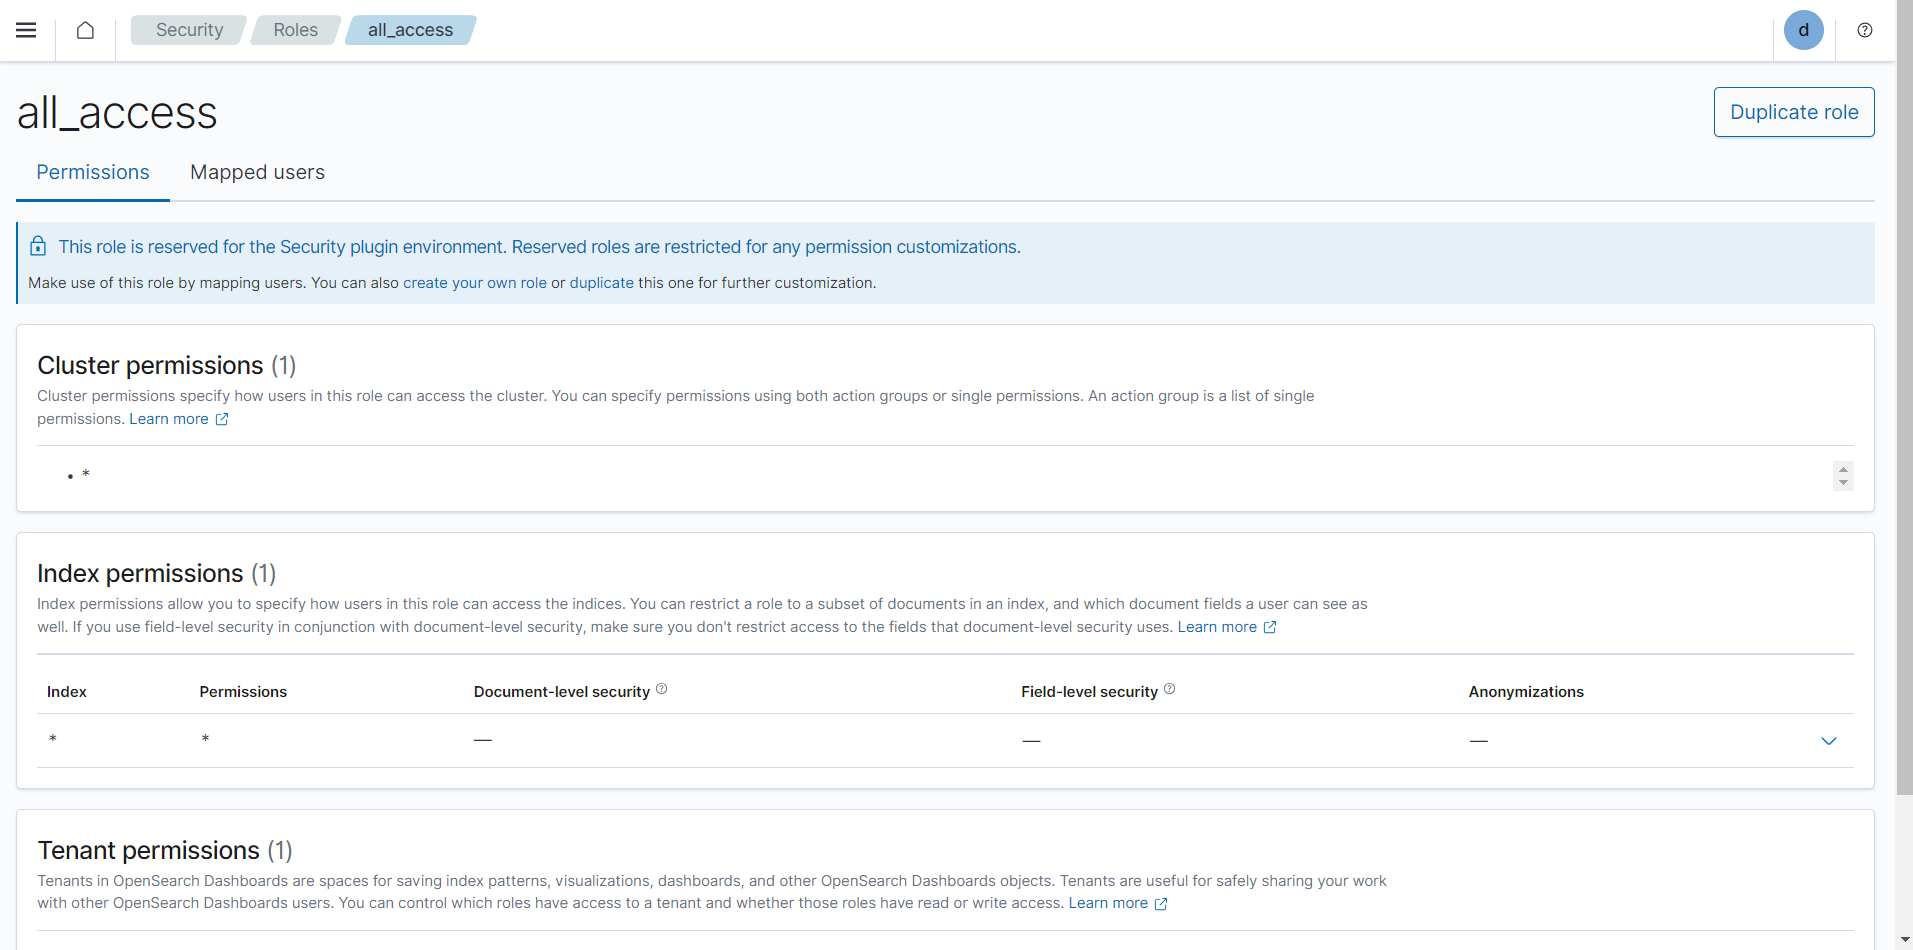
- Click on the Mapped Users
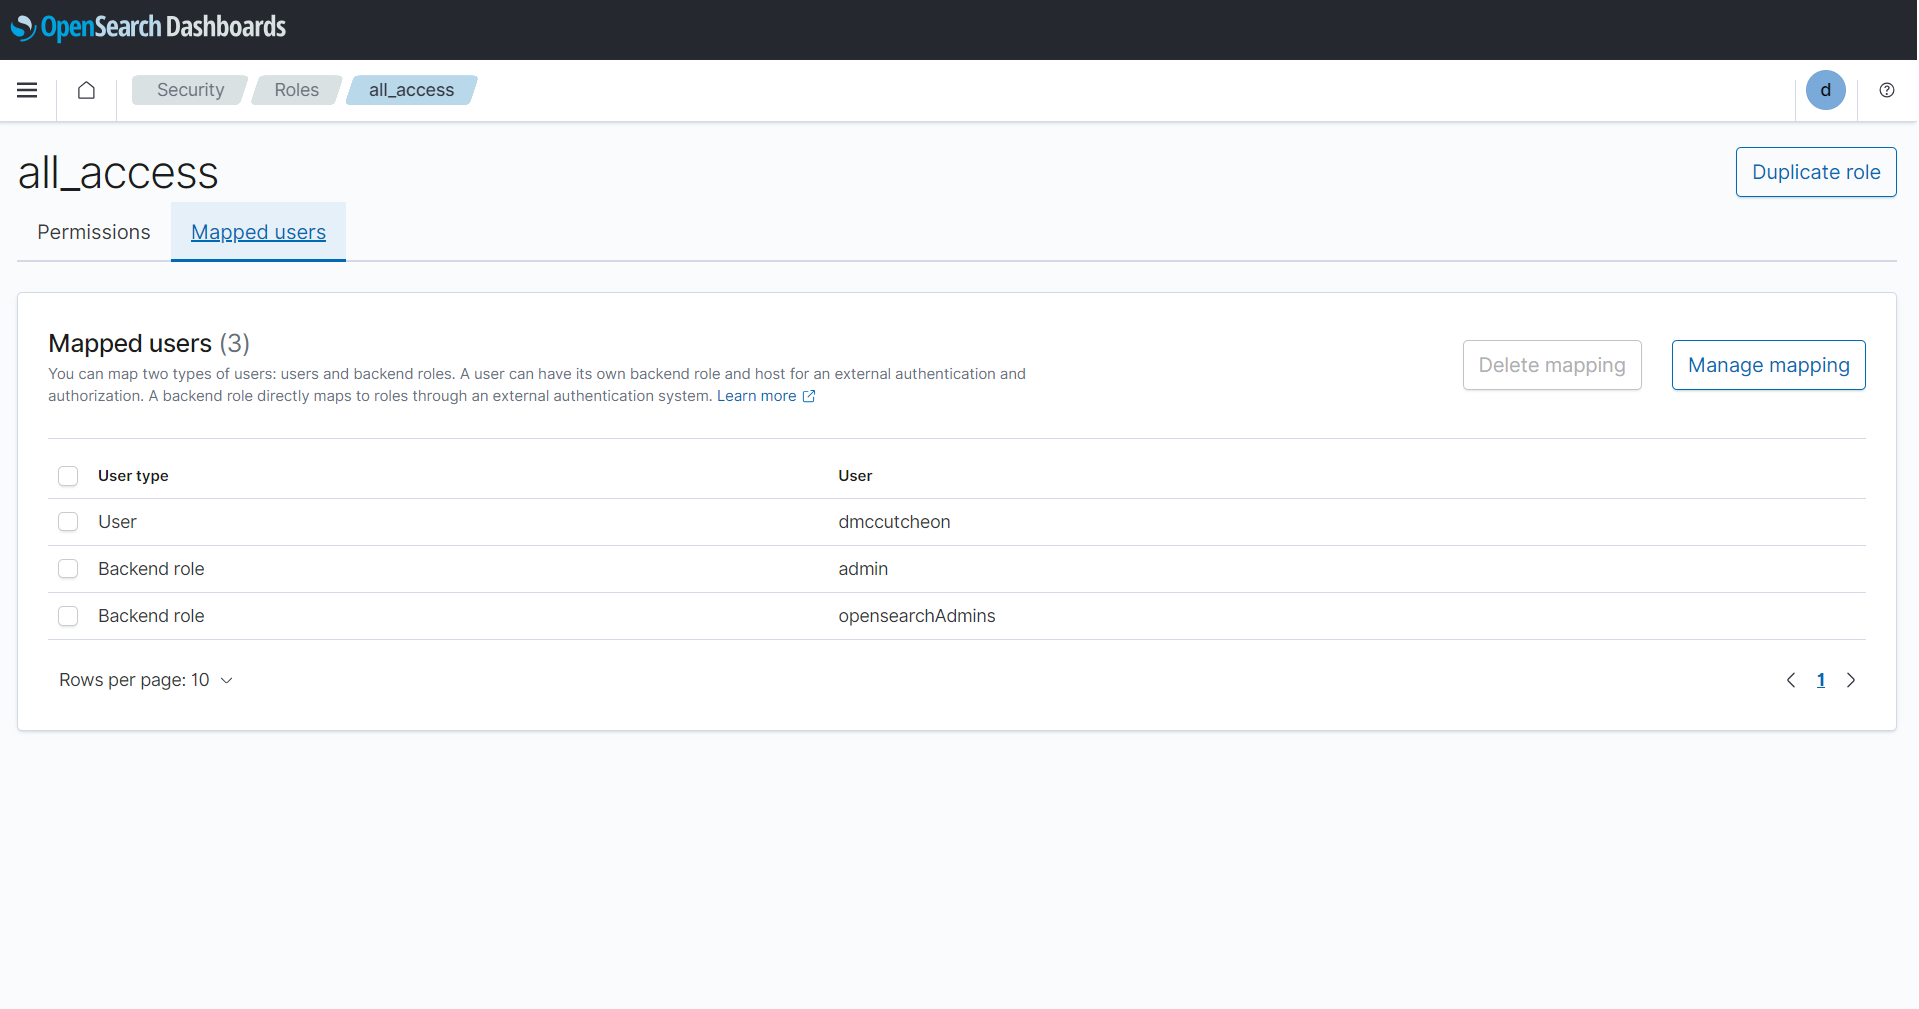
- Click on Manage Mapping
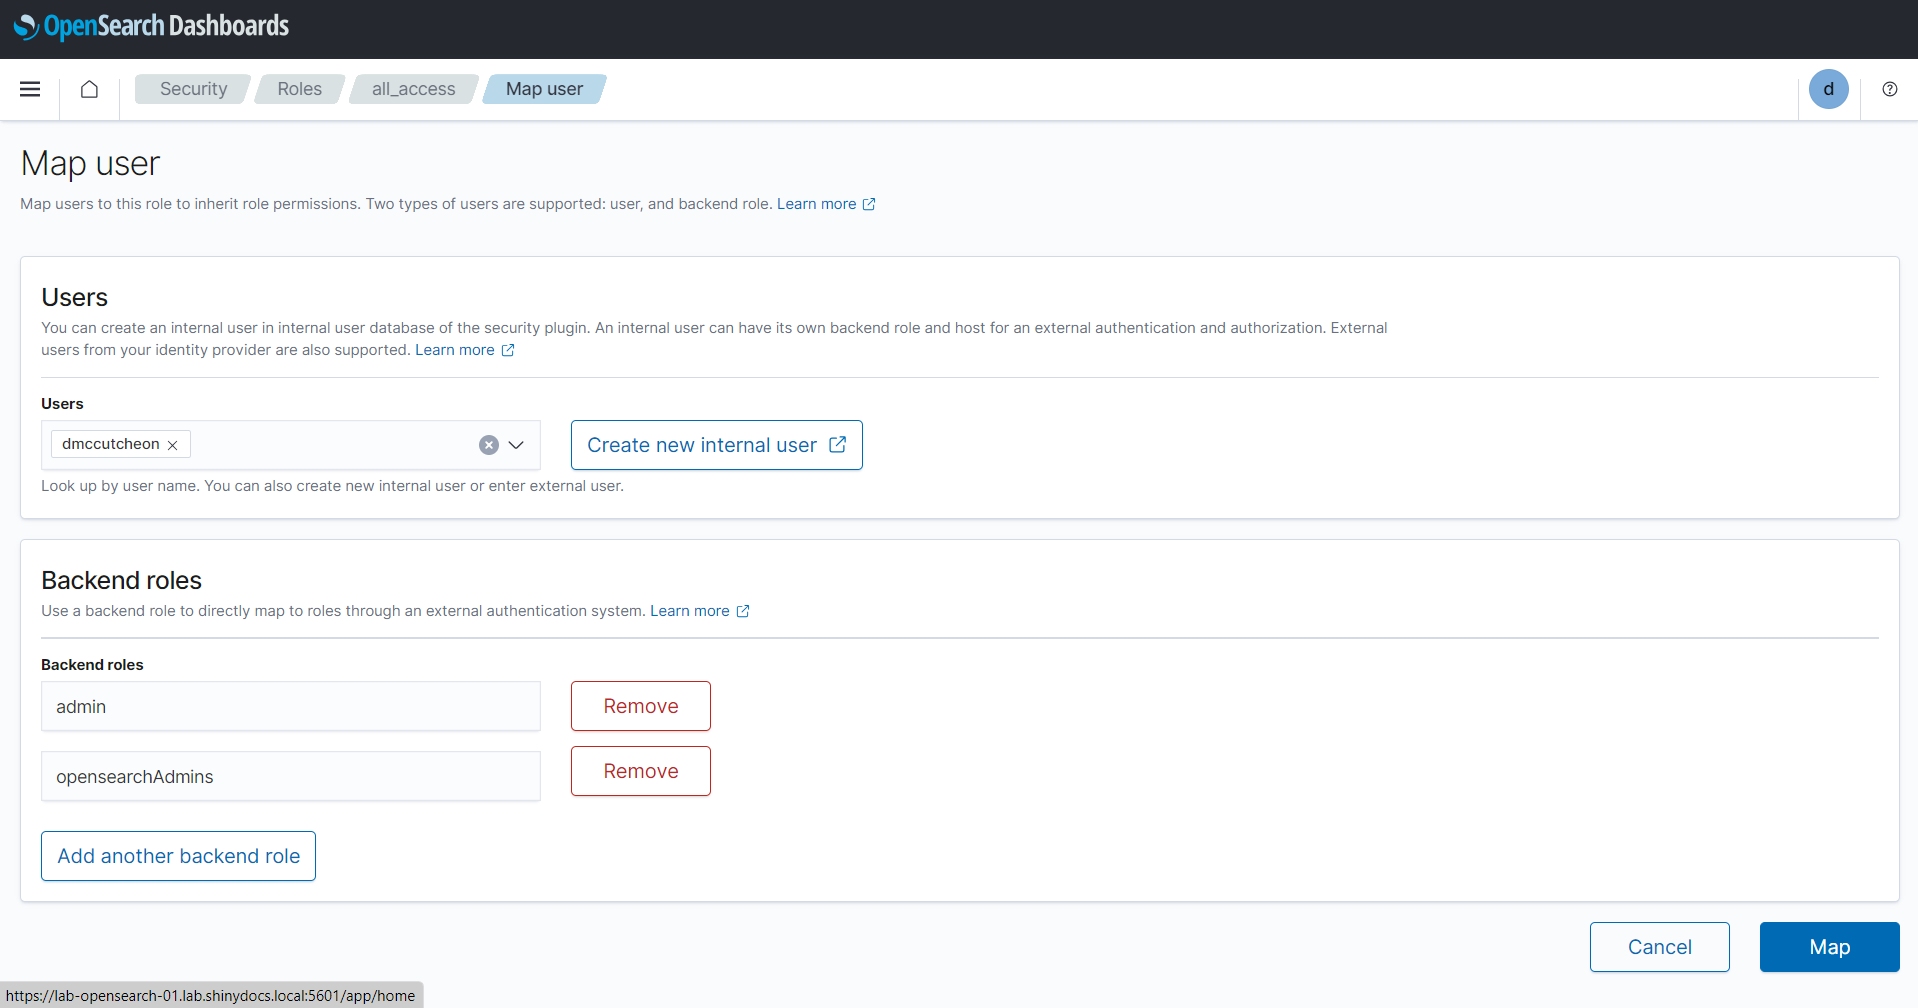
- You can add users to the list (either from the internal database, or type in a name that matches a user coming from OTDS)
- Click Map to save the changes. The next time the user logs in, if there name matches the mapping in the role, they will be granted the role.
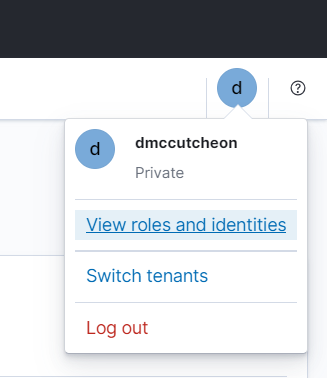
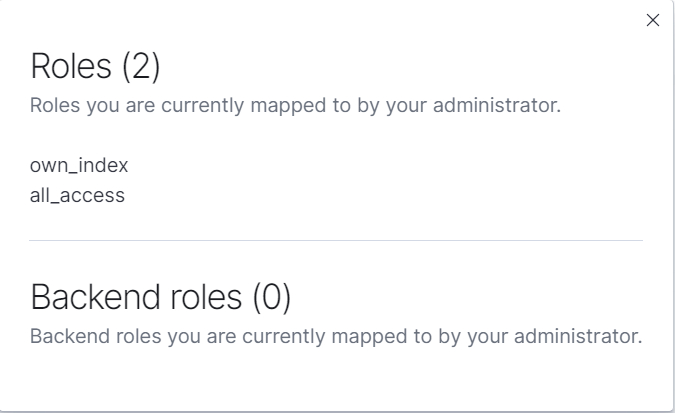
- Once logged in as the user, you can check if the mapping worked by selecting the user icon in the top right corner and selecting View roles and identities.