
Once complete:
- Shinydocs Pro analyzes your file system source.
- If you set up permission checks, Search shows each person only the files they can open on the file share.
Two Windows services on the Shinydocs Pro server do this work, and each needs the right account:
| Service | What it does | Account it needs |
|---|---|---|
| Shinydocs Agent | Reads the files for analysis. | Read access to the shares, unless you enter a Username and Password on the connection. |
| Shinydocs Control Center | Runs Search and checks each result as the person searching. | Only for permission checks: a domain service account set up for Kerberos delegation (Steps 2 to 5). |
For analysis
- The UNC path of each share, such as
\\FS01\Shares. Use the file server's name, not an IP address or a mapped drive letter. - An account with at least read access to the shares. Either enter it as the connection's Username and Password, or leave those blank and run the Shinydocs Agent service as that account. By default, the Shinydocs Agent service runs as Local System, which reaches shares as the Shinydocs Pro server's computer account, such as
CONTOSO\SHINYDOCS01$.
[!NOTE] The account you enter on the connection doesn't need permission to sign in interactively. If Windows refuses an interactive logon, Shinydocs Pro uses the account for network access instead.
For Search permission checks
- A domain service account or group managed service account (gMSA) to run the Shinydocs Control Center service. It must be a local administrator on the Shinydocs Pro server.
- Control Center signing people in with Windows: under Settings > Access, Identity provider is Negotiate. With any other identity provider, Search can't check file system permissions and leaves out every protected file system source. See Access and Authentication in Shinydocs Pro.
- The Shinydocs Pro server in the same domain as the file servers, with domain controllers running Windows Server 2012 or later.
- An account that can register SPNs and edit the file servers' computer objects in Active Directory, such as a domain admin.
- The Active Directory module for PowerShell on the computer you run the commands from. To install it, run this as an administrator: PowerShell
Get-WindowsCapability -Name RSAT.ActiveDirectory* -Online | Add-WindowsCapability -Online
gMSAs and Windows clustered file shares
- gMSA: in each service's Log On tab, enter the name with its $, such as
CONTOSO\gmsa-shinydocs$, and leave the password boxes blank. A gMSA has no password to enter on the connection, so leave Username and Password blank there and run the Shinydocs Agent service as the gMSA (Step 1). - Windows clustered file shares: run both Shinydocs Control Center and Shinydocs Agent as the service account or gMSA; Local System isn't enough. You then don't need a username or password on the connection. In your paths and in Step 4, use the name of the clustered file server role, not the cluster's nodes.
If you don't need Search to check permissions, do Step 1 if it applies, then go to Adding your source.
Step 1: Set the account that reads the files
Skip this step if you'll enter a Username and Password on the connection.
- On the Shinydocs Pro server, open Services, right-click Shinydocs Agent, and select Properties > Log On.
- Select This account and enter an account that can read the shares, usually the same service account as Control Center. Select OK.
- Restart the Shinydocs Agent service.
Step 2: Run Shinydocs Control Center as the service account
- Make the service account a local administrator: run
lusrmgr.msc, open Groups > Administrators, and add the account. Control Center needs this to read and write its settings, database and keys. - Let the account read the HTTPS certificate's private key:
- Run
certlm.mscand go to Personal > Certificates. - Right-click localhost.localdomain, or the certificate Control Center uses if you changed it, and select All Tasks > Manage Private Keys.
- Select Add, find the service account, and select OK.
- With the account selected, check Read under Allow, then select OK.
- Run
- Open Services, right-click Shinydocs Control Center, and select Properties > Log On.
- Select This account and enter the service account and its password, then select OK.
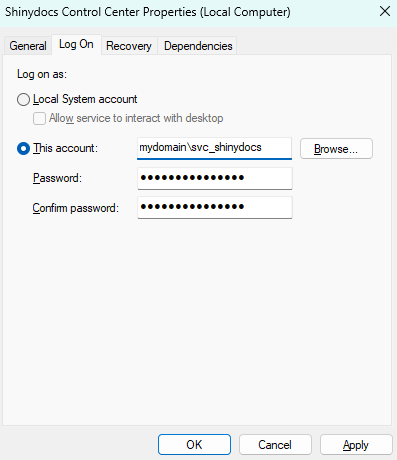
- Restart the Shinydocs Control Center service.
Step 3: Register the HTTP SPNs
The browser asks for a Kerberos ticket named after the address it opens, such as HTTP/shinydocs01.contoso.local. Every name people use to open Control Center needs that SPN on the service account: the short name, the full name, and any alias. If a name has none, the browser signs in with NTLM, which can't be passed on to the file server.
- Open PowerShell as an administrator. For each name, check that no account has it yet. You want to see No such SPN found. PowerShell
setspn -Q HTTP/shinydocs01 setspn -Q HTTP/shinydocs01.contoso.localAn SPN can belong to only one account. If a name is already registered to another account, remove it from that account with
setspn -D, or give Shinydocs Pro its own DNS name. - Register each name, replacing the names and account with yours: PowerShell
setspn -S HTTP/shinydocs01 CONTOSO\svc-shinydocs setspn -S HTTP/shinydocs01.contoso.local CONTOSO\svc-shinydocsFor a gMSA, end the account name with $, such as
CONTOSO\gmsa-shinydocs$. Don't add the port (9701). - Check the account's SPNs: PowerShell
setspn -L CONTOSO\svc-shinydocs
Step 4: Let the service account act for people on each file server
Each file server keeps a list of accounts that may act for people when they connect to it, called PrincipalsAllowedToDelegateToAccount. Add the Control Center service account to that list on every file server in your source paths. Don't add the Shinydocs Pro server's computer account: Control Center runs as the service account, so that is the account the file server sees.
Which Active Directory object to use:
- A file server: its computer name, such as
FS01. Use the name, not the full DNS name. - A clustered file server: the name of the clustered file server role, not the cluster's nodes.
- A DFS path: every server that hosts the namespace or a folder target the path can lead to.
- A NAS device: the computer account the device uses in Active Directory.
Run this in PowerShell, with your account and file server names. It adds the service account to each file server's list and keeps any accounts already there.
PowerShell
$account = Get-ADUser svc-shinydocs # For a gMSA, use this instead: $account = Get-ADServiceAccount gmsa-shinydocs foreach ($name in 'FS01', 'FS02') { $fileServer = Get-ADComputer $name -Properties PrincipalsAllowedToDelegateToAccount $allowed = @(@($fileServer.PrincipalsAllowedToDelegateToAccount) + $account.DistinguishedName | Select-Object -Unique) Set-ADComputer $fileServer -PrincipalsAllowedToDelegateToAccount $allowed } Check the result. Each file server should list the service account, for example CN=svc-shinydocs,OU=Service Accounts,DC=contoso,DC=local.
PowerShell
foreach ($name in 'FS01', 'FS02') { Get-ADComputer $name -Properties PrincipalsAllowedToDelegateToAccount | Select-Object Name, PrincipalsAllowedToDelegateToAccount } [!WARNING]
Set-ADComputer -PrincipalsAllowedToDelegateToAccountreplaces the whole list. Don't run it with only the service account if other applications already have entries; use the command above. To clear a file server's list completely, runSet-ADComputer FS01 -PrincipalsAllowedToDelegateToAccount $null.You don't need to change anything on the Delegation tab of the service account itself.
Step 5: Turn on Windows sign-in and restart
- In Control Center, go to Settings > Access and check that Identity provider is Negotiate.
- Restart the Shinydocs Control Center service.
- On each computer you'll test from, sign out of Windows and back in, or run
klist purge. Kerberos tickets last up to 10 hours, so a ticket from before your changes can make it look like they didn't work.
Adding your source
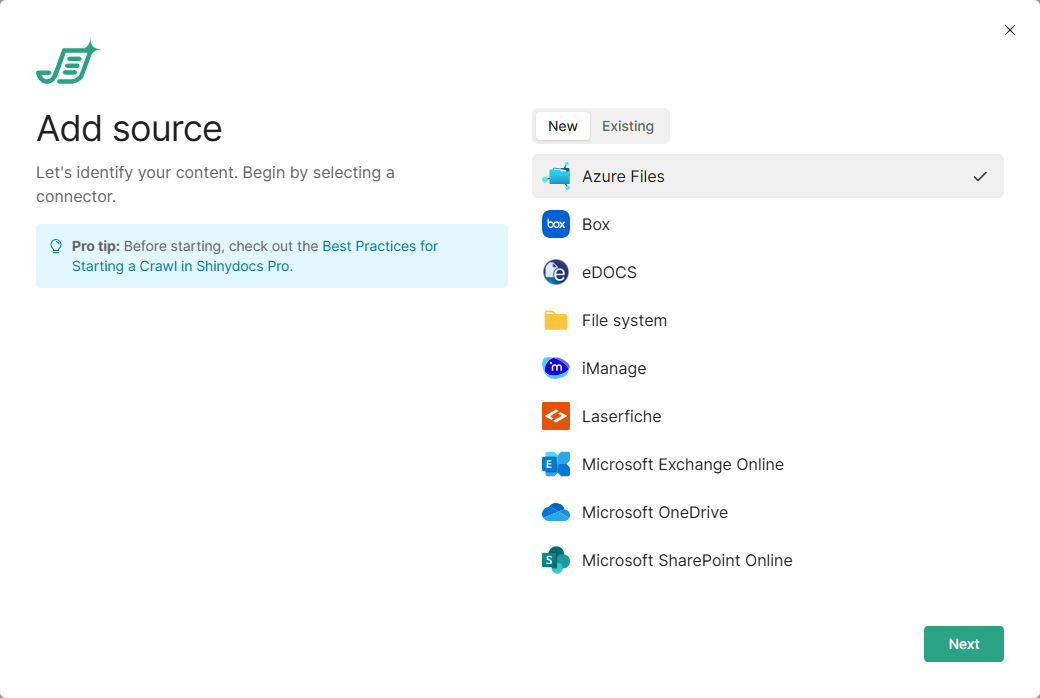
- In Shinydocs Pro Control Center, select Add source. It is on the Overview page and the Sources page.
- On the New tab, select File system, then select Next. To add another source to a File system connection you already set up, use the Existing tab instead.
- Enter the connection details:
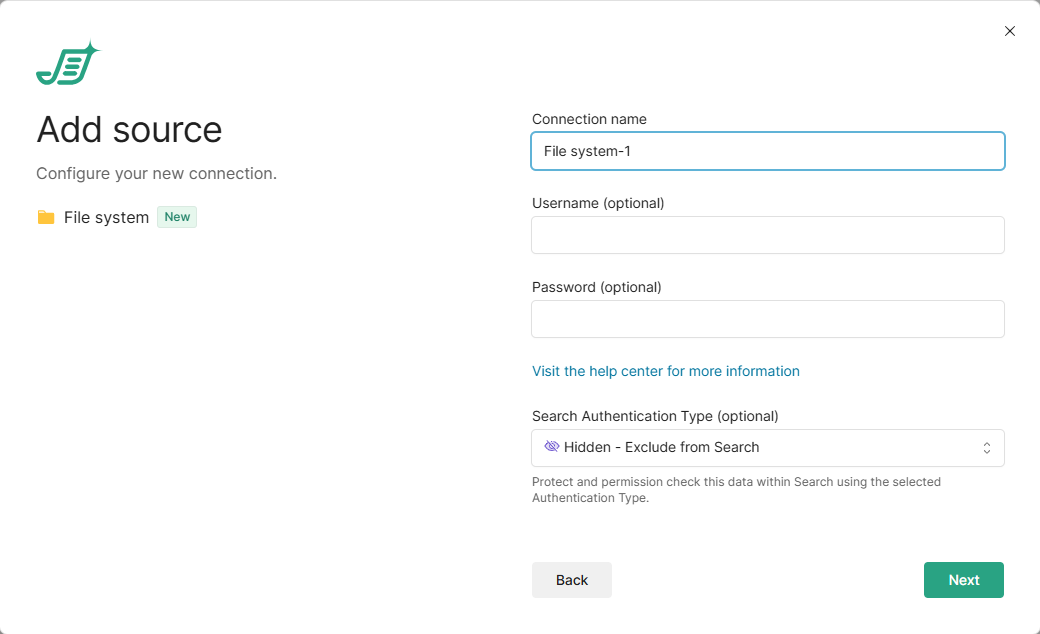
- Connection name: leave as is, or enter a name of your own.
- Username (optional) and Password (optional): the account used to analyze your file system. This is typically a service account with read access to everything you want to analyze. If you leave them blank, the Shinydocs Agent service reads the files as the account it runs as (Step 1). For a gMSA or clustered file shares, leave them blank (see above).
- Search authentication type: select Protected - Negotiate/Kerberos so Search checks file system permissions (Steps 2 to 5). The other options are Hidden - Exclude from Search and Public - No authentication required.
- Select Next. Control Center checks the connection before you continue. If something is wrong, the error says which setting to fix. A source can only be added while an agent is online.
- Under Path, enter the path you want to analyze. A UNC path (
\\server\share) is preferred. Use the file server's name, not an IP address, so Search can check permissions. Select Add for another path, or Add multiple to paste several paths at once, one per line. We recommend starting with a small file share; see Best Practices for Starting a Crawl in Shinydocs Pro.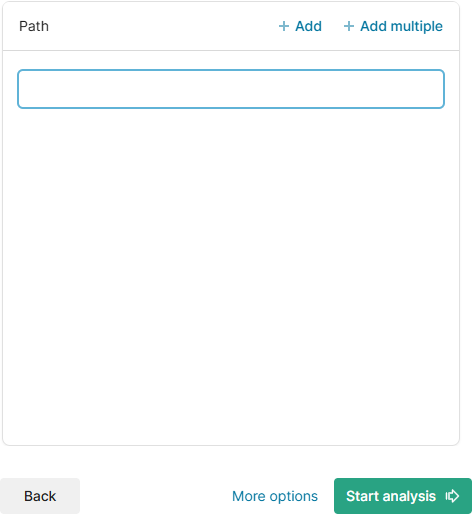
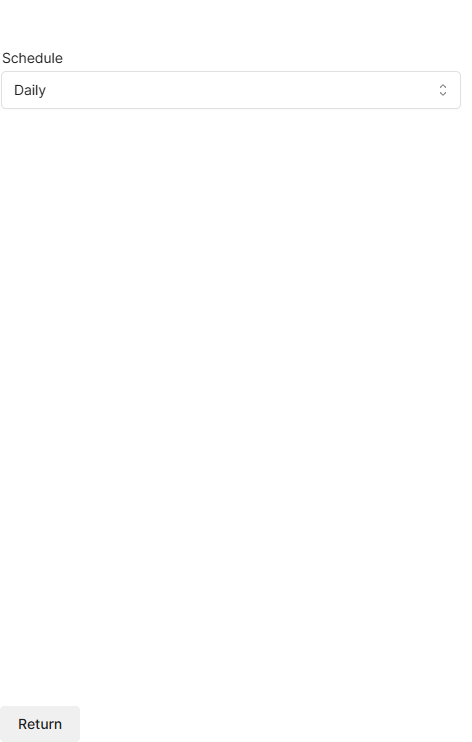
- Optionally, select More options to set the Schedule (Daily or None), then select Return.
- Select Start analysis.
The new source runs the analysis set for file system connections under Settings > Analysis. To change what runs for this source, or its schedule, open it from the Sources page. See Shinydocs Pro Control Center Guide.
Test Search permission checks
- On a workstation, not the Shinydocs Pro server, sign in to Windows as a regular domain user who can open some of the files in the source.
- Open Search using one of the names you registered, for example
https://shinydocs01.contoso.local:9701/search. You should be signed in without being asked for a password. - In the sidebar on the left, the File system connection's plug icon should be green. A grey, faded icon means the connection is disconnected for you. Hover over it to see Connected or Disconnected.
- Search for a file you can open; it should appear. Search for a file you can't open; it shouldn't.
[!CAUTION] Don't test on the Shinydocs Pro server itself, or with
https://localhost:9701. Those sign in with NTLM, which can't be passed on, so file system sources show as disconnected even when the setup is correct.
Change the account passwords
When the password of an account Shinydocs Pro uses changes, for example under your password policy, update it straight away: crawls can’t read the shares until you do. Control Center doesn’t warn you before a password expires. A gMSA’s password is managed by Windows, so there’s nothing to update for one.
If the connection has its own username and password
- Go to Sources, find the group for the connection, and select Edit. You can also go to Settings > Connections, choose the connector, and select Edit connection.
- In Password (optional), delete the asterisks (
**********) and enter the new value. If you leave the asterisks, Control Center keeps the old value. - Select Save changes. Control Center checks the new credential through an agent before saving, so an agent must be running. If the check fails, nothing is saved and the dialog shows the error.
The change applies to every source that shares the connection. Crawls that start after you save use the new password, and nothing needs to change on the agents. To check the connection again later, select Run tests in Settings > Connections.
If the password is wrong, Control Center shows: Failed to authenticate user ‘…’.
If the Shinydocs Agent service runs as the account
This is the account you set in Step 1: Set the account that reads the files.
- On the Shinydocs Pro server, open Services, right-click Shinydocs Agent, and select Properties > Log On.
- Enter the new password in Password and Confirm password, and select OK.
- Restart the Shinydocs Agent service.
If you run agents on more than one server, do this on each of them.
If the Shinydocs Control Center service runs as the account
This is the service account from Step 2: Run Shinydocs Control Center as the service account, which Search uses to check permissions.
- On the Shinydocs Pro server, open Services, right-click Shinydocs Control Center, and select Properties > Log On.
- Enter the new password in Password and Confirm password, and select OK.
- Restart the Shinydocs Control Center service.
Troubleshooting
| What you see | What to check |
|---|---|
| The browser asks for a username and password | • The site isn't in the browser's Local intranet zone or integrated authentication allow list. • The name in the address bar has no HTTP SPN, or its SPN is on another account. Run setspn -Q HTTP/<name>. |
| File system is disconnected for everyone | • Settings > Access > Identity provider isn't Negotiate. • You're testing on the Shinydocs Pro server or through localhost.• The service account isn't in the file server's PrincipalsAllowedToDelegateToAccount list, or it was added to the wrong object (Step 4).• The source path uses an IP address. Add sources by the file server's name. • Changes were made without restarting the service and clearing tickets (Step 5). |
| File system is disconnected for some people | • They can't open the source's folder itself. Search leaves out a source whose folder the person can't open, even if they can open files inside it. • Their account is in the Protected Users group, or has Account is sensitive and cannot be delegated set. This is common for administrator accounts; test with a regular account. |
For more checks, see Search Configuration for File system - Kerberos.
Helpful tips
To remove an SPN, run:
PowerShell
setspn -D HTTP/shinydocs01.contoso.local CONTOSO\svc-shinydocs To turn on Kerberos logging, add this registry value on the Shinydocs Pro server. Create the Parameters key if it doesn't exist.
- Key:
HKEY_LOCAL_MACHINE\SYSTEM\CurrentControlSet\Control\Lsa\Kerberos\Parameters - Value: LogLevel, type REG_DWORD, data 0x1
Kerberos errors then appear in the System event log. Set the value back to 0 when you're done. See How to enable Kerberos event logging.
After you add or change SPNs, allow time for them to replicate to all domain controllers.