
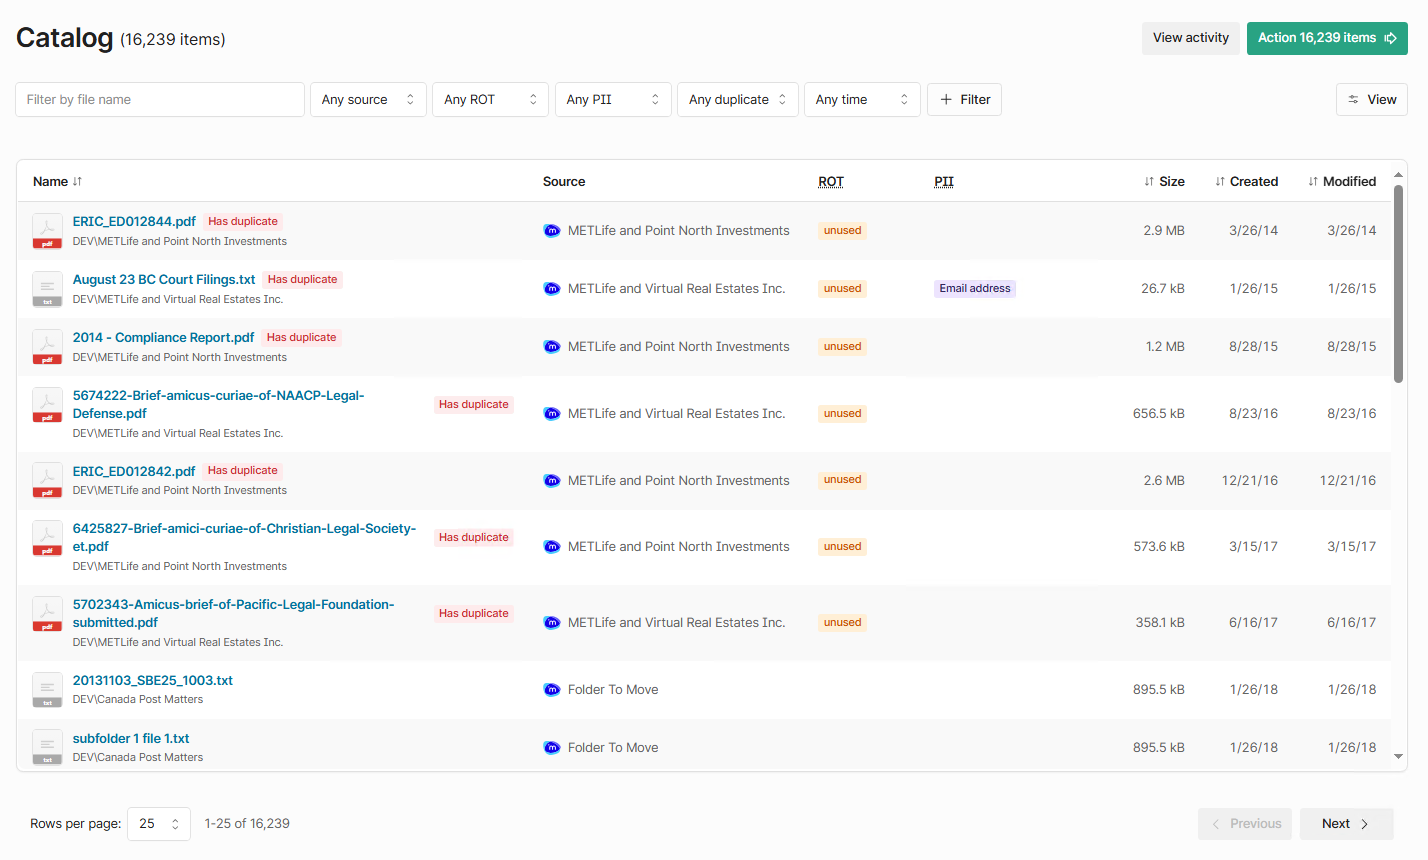
Opening the Catalog in Shinydocs Pro Control Center is a pivotable moment for your organization. All of your content, enriched by Shinydocs PII and ROT rules, is viewable and actionable on this page.
Get ready to dive in!
Getting to know the Catalog
The Catalog is the perfect place to review details of your analysis, it’s available as soon as you add a source.
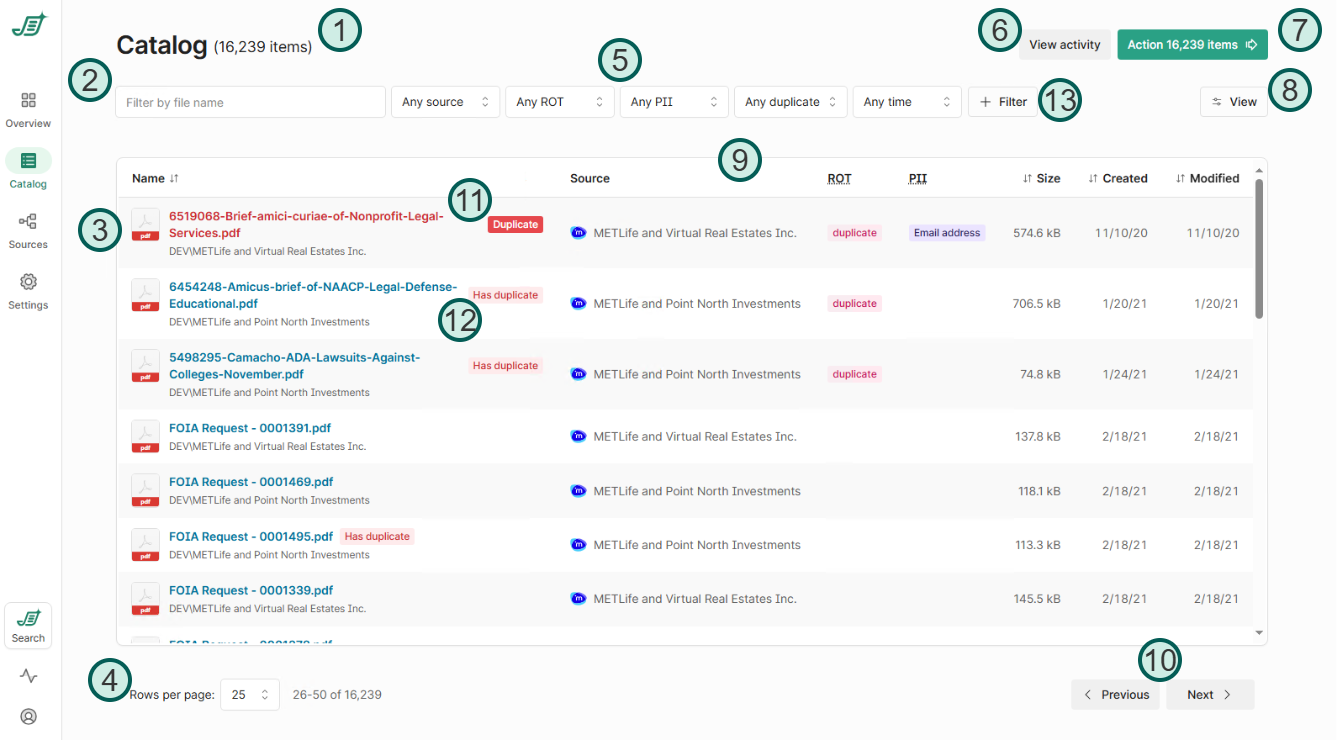
Points of interest
Duplicates view
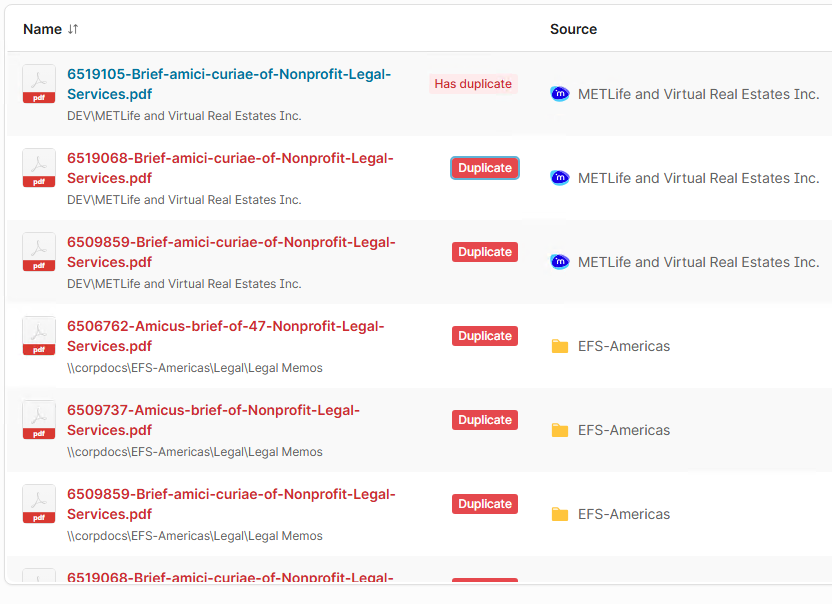
When browsing the catalog, when you find a duplicate, you can click on the red Duplicate tag to bring up all duplicates of that file. The item with the tag Has duplicate is the original (by creation date)
View activity
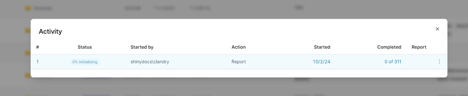
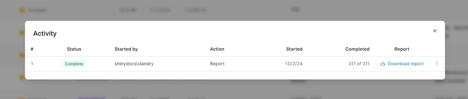
Clicking the View Activity button opens the Activity dialog. Here, you can see the current and past actions taken on your content. The dialog tracks Report and Dispose actions. Every action generates a report.
In the Activity dialog, you can:
Download the CSV report
Cancel an ongoing activity
Apply the same filters to the catalog view that were used when the action was submitted
Action
Clicking the Action button opens up two options: Report and Dispose.
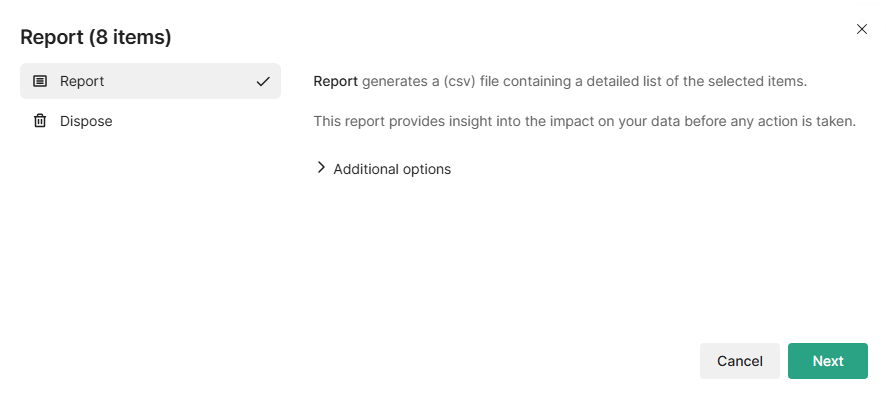
Report: Generates a CSV file with a detailed list of items in the current catalog view. This report provides a summary of your data before any changes are made.
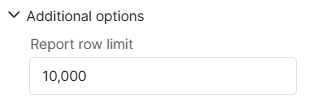
Additional options
Select the drop down for additional options to change the report’s maximum row count before it rolls over
Dispose: Removes files from their original location. You must provide a reason for disposal, such as expired retention policies or compliance requirements. You can also verify that the content hasn't changed before proceeding. Once a disposal is confirmed, the action cannot be undone.
Additional options
Select the drop down for additional options to change the report’s maximum row count before it rolls over
Filters
These filters help narrow down your report based on different criteria:
1. Source Filter
"Any Source" is the default option, which includes all sources.
You can select a specific source from the list if you want to focus on particular content.
2. ROT (Redundant, Obsolete, Trivial) Filter
Use this filter to find specific types of files based on their status, like:
Redundant: Duplicates, large disk images, email copies, etc.
Obsolete: Old drafts, archives, event logs, unused files, etc.
You can select specific types or click Select all to include everything in this category.
3. PII (Personally Identifiable Information) Filter
Use this filter to search for content containing PII.
Select specific PII rules to report on or choose All to include every type of PII in your report.
4. Duplicates Filter
This filter helps identify duplicate content.
Choose Duplicate to focus on duplicate items across your sources.
Choose Has Duplicate to focus on items that have duplicates.
5. Time Filter
You can filter results based on the modified date of the content.
Select the appropriate time frame from the drop-down list.
6. + Filter
Add any of the metadata fields Shinydocs Pro captures to the catalog view
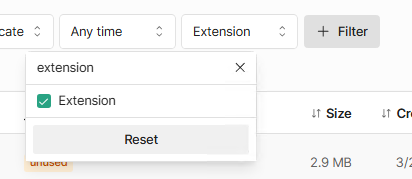
Adding the Extension field as a filter You can filter on these fields:
Once your field is added, select it in the filters row
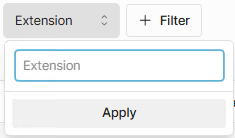
You can type in a value to search for in that field
In the example of Extension, entering pdf is a an valid example
Click apply to filter the Catalog for your search term
You can also check if the field exists or does not exist
Entering
!means the field existsEntering
!!means the field does not existFor example, if you wanted to see all results where the field Author exists as a metadata field, you would:
Add the
AuthorfilterEnter
!as the value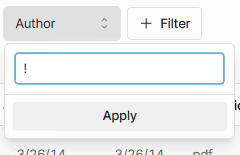
Creating Your Report in Shinydocs Pro Control Center
Once you've applied the filters you need, you can click on the green Action button in the top right. The number displayed in the button reflects the results in view of the catalog. This number also reflects the number of results given your current filters. Clicking the Action button will let you report on or dispose of the items in view of the catalog.

Click the green Action # items button in the top-right corner.
A prompt will appear asking you to choose between Report or Dispose. Select Report and confirm.
You can drop down Additional options to change the maximum rows of the CSV report.
Your export will be queued. To retrieve it:
Click on the

Download the report once it's ready.
Note: If the CSV files are large, they will be split into smaller files inside a zip file. Currently, only the CSV format is supported for exporting reports.